Drive & Parking
It only took us about 1.5 hrs. from Denver to get to the trail head, however we left at midnight so there wasn't much traffic. The road is paved the entire way and it was a very easy drive compared to other hikes.
The trail head parking lot is a decent size with a lot of parking along the road which adds mileage to the hike, but gives you flexibility if get you there late. The lot fills up very quickly so the sooner the better.
Distance
I've seen a lot of different numbers on this that range from 13 to 14 miles. My Garmin tracked us at 15.9 once it was all said and done. We did a little walking around at the top and took a small detour around Chasm Lake. I think it's probably closer to the 14 - 15 mile range but due to how much scrambling and rock hopping we had to do, it zig zagged us a lot on parts of the mount.
Elevation
The trail head starts around 9,400 and the peak is 14,259. My Garmin tracked 4,915 feet which is pretty close.
Difficulty
This is a hard trail no matter how you look at it. It's a long distance with a lot of elevation gain. You really have to break this trail down into multiple parts.
Trail head --> Boulder Field
This part is a steady uphill climb but nothing technical at all.
Boulder Field --> Key Hole
This portion requires some boulder hopping but nothing crazy. It gets tiring due to the elevation and you have to be care not to slip.
Key Hole --> Summit
This is where the hike truly begins. You do not need to perform this hike if you are scared of heights/exposure, not in good shape, or confident with scrambling and some minor rock climbing moves.
I think the picture below describes it well.
The Hike
We started the hike at 1:45 am on Sunday morning. There were a handful of other people in the parking lot but not bad at all. The first few miles of the hike are in a wooded area that follows a stream. This part of the hike is pretty straight forward as you just start a gradual climb up.
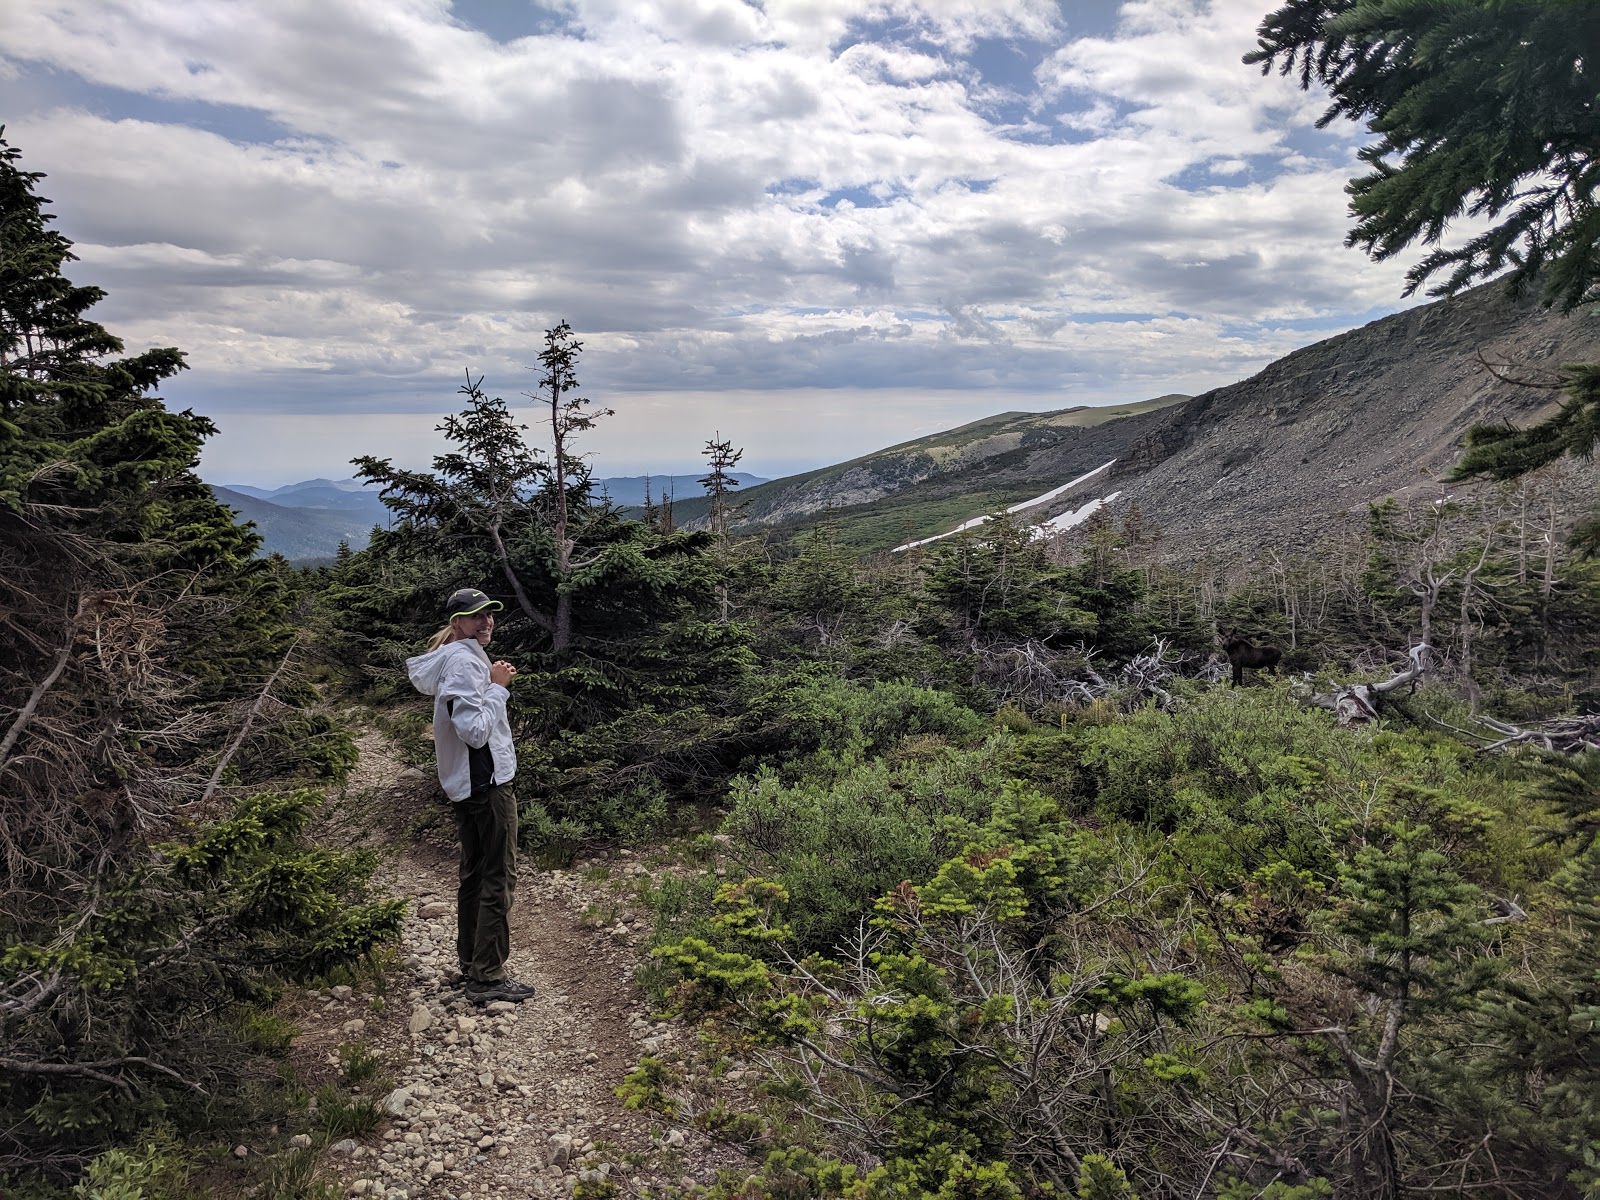
Once you leave the forest, you start the alpine tundra portion of the hike. This was beautiful at night as you could see the outlines of the mountains with the moonlight and the stars were amazing with no lights around. On our way back down, it provided some pretty views of the surrounding area but was fairly exposed if weather is coming in. Depending on the conditions, it can get pretty wet in this area leading up to the boulder field and we had to do some rock hopping to avoid streams.
Below is a picture with longs in the background on our way back down.
Around 6 miles in, you reach the boulder field. It was still pitch black by the time we got here but navigated the area pretty easily with head lambs. You have to be careful jumping around but it's pretty basic scrambling. If we weren't trying to beat weather, I would recommend catching the sunrise at the keyhole as it would have been beautiful. However, we were on a timeline with storms coming in so had to keep on going. Here is a quick pic from the keyhole with the sun starting to come up and a few hikers below us.
Once you go through the keyhole, you get some pretty amazing views of the mountain range on the other side.
The next portion of the hike is called "The Ledges". It's not a very long portion of the hike with minimal elevation gain but it's the first part that truly gets you some exposure as you horizontally go across the mountain.
Here are a few pictures of this area of the hike, even though they don't do it justice.
The next portion of the trail is called The Trough. This is a fairly short section but it's about 600 elevation gain and more of a climb vs. a hike. While this part was hard from a cardio perspective and needed some decent scrambling techniques, it wasn't nearly as exposed as you were going up vs. horizontal. Here is one pic from the bottom looking up and top looking down.
After you get to the top of this portion of the trail, you think you are close but you are terribly wrong. You then make a left on the other side of the mountain and hit the Narrows. This has the most exposure and a almost sheer drop off. Some sections of the trail are only around 3 -4 feet wide.
Here's a picture of my friend Brian start out and one showing the view off the side.
Once you finally get off the narrows, it's time for the final push to the top. This is called the Homestretch. It's only about .2 miles long but around 280 vert. This was a class 3 slope and not terribly technical in most areas. You just had to pay attention to make sure you were picking your route correctly and had three points of contact whenever possible. We got into a few areas where a minor rock climbing move was needed but nothing crazy. It was very tall through and tiring.
Then we finally made it to the top! It took us 5.5 hrs. total. Unfortunately as soon as we hit the top, we started to get sleeted on with some rain as well so didn't get to enjoy the views much.
The climb down was one of the worse things I've ever done. Even though it only rained a little, it made the rocks very very slick and for the first portion of the climb down we were literally sliding down on our butts a few feet at a time and finding places where we could stop ourselves. Since it was so slick and steep, this was a very dangerous portion of the trail in those conditions.
As we continued to go down, the rain picked up and it even started to lightening in the distance with some pretty loud thunder as we hit the narrows. The narrows and other ledges were very dangerous in the wet conditions and we had to go very slow going down making sure all of our handholds/footholds were solid.
After what felt like 90 hrs. of getting to the keyhole, we were finally able to relax a little since even though the boulder field was still dangerous with slick rocks, the exposure was not there. We ended up getting rained on until Chasm Lake until it lightened up and we finished the long haul back.
Here's a picture of Chasm Lake from the trail and it's pretty awesome seeing Longs Peak in the background knowing we just came from there.
I'm very glad I did it, but doubt I would do it again. The views and scenarios you are put in are challenging but fun. If it wasn't for the wet conditions, it wouldn't have been bad at all. I highly recommend never even thinking about going up there or turning around quickly if rain is on the way. It made the trail significantly harder.
All-in-all, it took is 10 hrs 36 min for the round trip. Which is pretty solid considering the conditions. If it wasn't wet, we would have easily shaved off 40 minutes of that time.